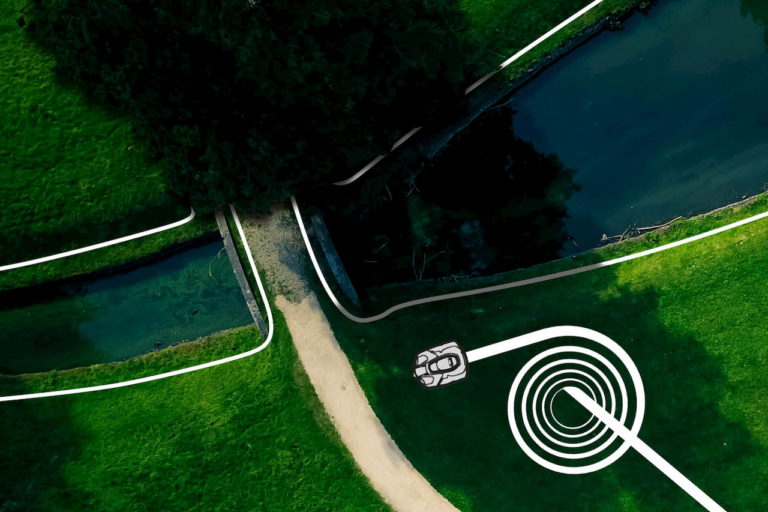
There are several reasons why you may want to extend the boundary wire of your robotic mower. Perhaps the supplied cable is not long enough, or perhaps later on you decide to include an additional area. In this article I will explain how to extend the boundary wire.
How do you extend the boundary wire of the robotic mower? To extend the boundary wire of the robotic mower, cable connectors and an additional cable are necessary. The two ends of the cables to be connected are inserted into this connector, which is then pressed together with combination pliers to secure the connection.
In the following article I will explain how exactly this works and what you might have to consider.
Contents
How is the boundary wire of the robotic mower extended?
In the following I will explain step by step how to extend the boundary wire. You will need the following tools:
- A pair of pliers
- A tool for cutting the cable (pliers, knife)
- Possibly shovel/spade for underground installation
Here’s what you do:
- Disconnect the charging station from the power supply
- If your boundary wire is buried, carefully dig it out. If you use a shovel or spade, be careful not to damage the cable. Even the smallest cracks in the insulation can cause the cable to rust through in the long run.
- Cut the cable with a pair of pliers or a knife. This is also necessary if you want to extend it on an existing cable connector, as cable connectors are unfortunately not reusable.
- Guide one end of the disconnected cable into one of the holes in the cable connector. The cable end must not be stripped.
- Insert the end of the new extension cable into the cable connector as well. Both ends must be pushed in all the way to the back.
- Press the cable connector together with a pair of pliers
- The two cables are now connected at a single point
This helpful video shows once again what connecting two cables looks like in practice:
Here is how it works for ROBOMOW models:
What happens next?
Now you have connected the two cables at one point. But of course the other two ends have to be connected as well. Where do you want to connect them? At the same place in the boundary wire or at another place? If you just want to reconnect a broken cable, you can jump further down in this article.
Bordering a new area
In this case, I think it makes sense to dig out the boundary wire between the place where you just disconnected the cable and the place where you want to connect the other end.
Then you lay the new cable above ground along the newly defined area. You can then use the piece of the existing boundary wire to border the last piece of the new area.
Where the old boundary wire ends, connect it to the extension and repeat steps 4 to 7 above.
Last steps when extending the boundary wire
If your cable was buried before, you will certainly want to bury it again now. You can safely bury the section of cable that was buried before. But first check that there is no current flowing through the cable and that you did not make any mistake when connecting it.
If you now want to delineate a new area with the extended cable, I would advise you to lay the cable above ground first and to test first whether the robotic mower behaves as you would like it to at the edges.
If necessary, you can then readjust at one or the other corner or bottleneck so that everything runs smoothly in the end.
How to check for if everything has been connected correctly
Before burying the boundary wire again, you should check to see if everything went right with the cable connection. The best way to do this is to check the LED indicator on the charging station.
Reconnect the charging station to the power supply for this purpose.
Now the LED lights should tell you if everything is OK or if something is wrong with the boundary wire. A certain signal at the charging station indicates that the boundary wire is not connected or is interrupted at some point.
The following LED signals indicate a problem with the boundary wire:
- HUSQVARNA: LED flashes blue
- WORX: LED flashes green
- ROBOMOW: LED flashes red quickly
- MCCULLOCH: LED flashes blue
- MOWRO: LED flashes red
- AMBROGIO: Continuous lighting of the LED
- HONDA: LED flashes yellow
If you extend the guide wire, here are the analog LED signals for problems with the guide wire:
- HUSQVARNA: LED flashes yellow
- MCCULLOCH: LED flashes yellow
If the LED indicates that the boundary wire or guide wire is disconnected, the connection has probably failed, unless the problem existed before, which you probably would have noticed because the robotic mower would not drive.
What else you need to consider
Maximum length of the boundary wire
You cannot extend the boundary wire indefinitely. There is a maximum length, which is stated in the instruction manual of your robotic mower. Since your robotic mower only has a limited area capacity, this also makes sense.
However, even if you use your boundary wire to limit an area that matches the area performance, the boundary wire can still become too long in extreme cases. If you have an extremely angled lawn with many hills, excluded peninsulas and the like, the boundary wire may become too long.
So before you get down to work, take another look at the instruction manual of your robotic mower model and make sure that your extension plans are feasible and that you do not exceed the maximum length of the boundary wire.
Types of boundary wire
Not all boundary wires are the same. There are many differences between different boundary wires. Not only can the cables differ from manufacturer to manufacturer, there are also different cables for different applications.
For example, cable insulation can have different thicknesses. Special cables can, for example, be designed so that they cannot be gnawed through by rodents. If only the insulation is different, but the inner cable is identical, there should be no problems.
But the cables can also differ in the thickness of the wire used. Some even use a multi-twisted wire. The material also differs. Copper is not always used, sometimes special steel alloys are. This gives the cables different resistance.
Make sure that the extension wire matches the boundary wire you are using. Ideally, you should still have some of the supplied cable left (you should never throw the leftovers away). Otherwise you will have to buy a suitable cable.
How to find a broken cable
You suspect a break in your boundary wire or guide wire, but don’t know exactly where? There are a variety of ways you can find this break.
Here I show you the fastest and easiest method. I have created a complete summary of all possibilities you can try here.
For this you need a simple AM or transistor radio or a cable break detector. I will explain the whole thing to you briefly on the transistor radio. With a cable break detector it works similarly.
The radio contains a so-called ferrite antenna. Unlike radios with a visible antenna, a ferrite antenna is built into the device. It is usually aligned along the longer side of the device.
The charging station must be connected to the power supply for the following steps.
You must now hold the device or the antenna parallel to the course of the cable and move the device close to the ground or where the cable is laid. Start at the charging station.
As you move over the cable, a rhythmic tone should sound. If you do not hear a tone, turn the frequency knob a little bit until you hear one. If you still don’t hear one, you may need to adjust the unit.
As you move over the cable, the sound produced will be much quieter where the cable is broken. This is where the problem lies. Dig out the cable to fix the problem. Since the cable is very taut, in most cases you will have to insert a smaller extension with two cable connectors to repair the spot. You can do this as described above in this article.
Here I have described the transistor radio method again in detail step by step.
Related questions
How does the boundary wire work? The boundary wire is a cable that runs completely around the entire working area of the robotic mower and ensures that it does not leave this area. A weak current flows through the cable, which induces a magnetic field that can be detected by the robotic mower.
Also interesting: Robotic mower boundary wire: its function explained in detail
How is the boundary wire laid? The boundary wire begins and ends at the charging station and is routed around the entire lawn. It is attached to the ground with special hooks. It can be laid above ground, where it will grow into the lawn after a while, or it can be laid underground, which reduces the risk of damage from activities such as scarifying.